Yes, it’s finally here, the new Lockwood 001 sleeve, designed by Dr Lock to fix the problem of installing a Lockwood 001 dead-latch in the place of an existing deadbolt.
For years Locksmiths have been struggling with the problem when confronted with, how to convert one foot print to a completely different lock footprint.
Install Lockwood 001 in-place of Deadbolt – Problem 1
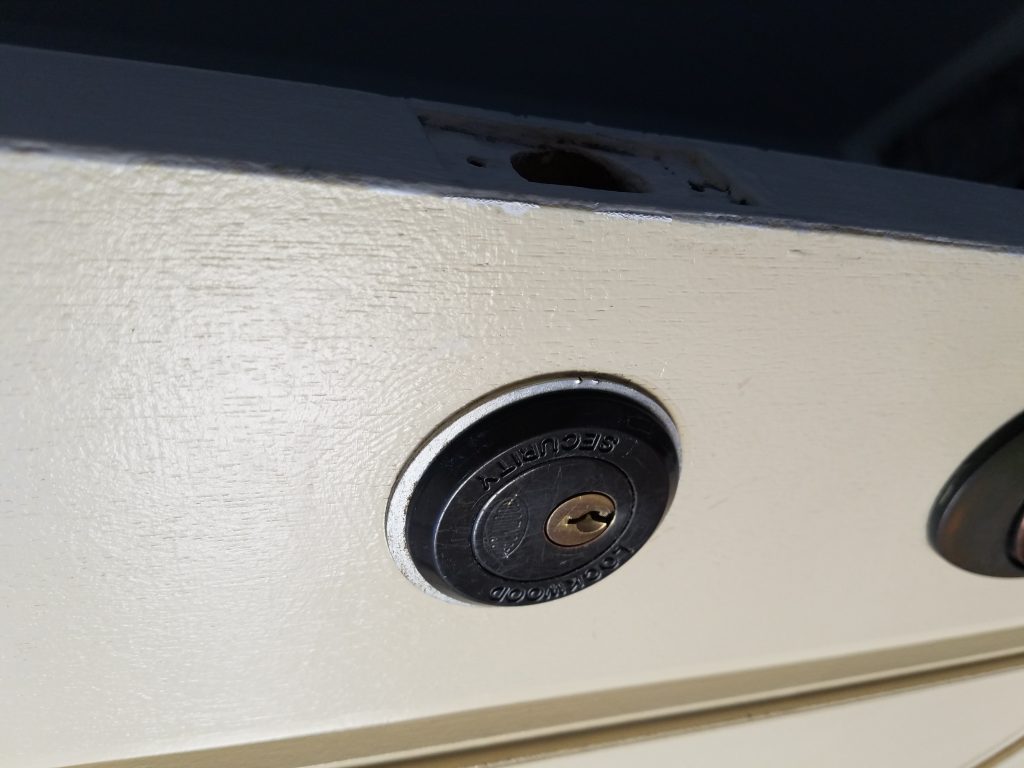
When changing a deadbolt lock to a Lockwood 001 lock, the first problem is the outside of the door, the door currently has a 52mm hole to accommodate the deadbolt.
The Lockwood 001 uses a 32mm hole. That’s a large 20mm of free space around the lock cylinder when trying to install a rim lock such as the Lockwood 001.
Plates can be used to cover the larger size hole and make the lock look presentable from the front of the door, but this still dose not fix the problem of the extra 20mm of material removed from the door.
The new Lockwood 001 cylinder is completely floating in an oversize hole in the door, with a 20mm void around the lock cylinder.
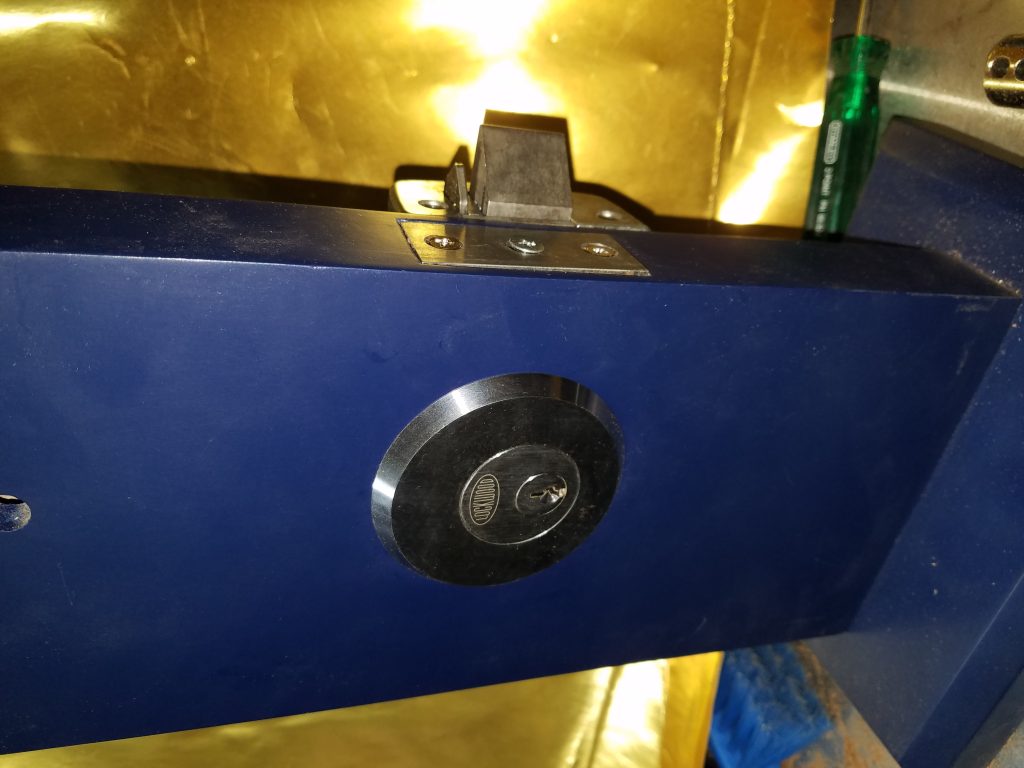
To overcome this problem, we have designed the Lockwood 001 sleeve to recenter the front lock cylinder and fill the 20mm void with solid material.
From the outside of the door, you will see the front cylinder is supported, but the most important feature is to notice is the front cylinder is fitted to a solid footprint that will give the door it’s integrity once again. You can not simply dig under any plate and force the cylinder as you can with using damage plates.
The front of the sleeve is solid and prevents attacking the front lock cylinder by way of “grabbing and rotating”
Install Lockwood 001 in-place of Deadbolt – Problem 2
The second problem when converting a deadbolt to a 001 Lockwood is the latch of the current deadbolt is fitted into the door, as the new Lockwood is fitted to the back of the door, this will leave a long hole on the edge of the door and also into the door.
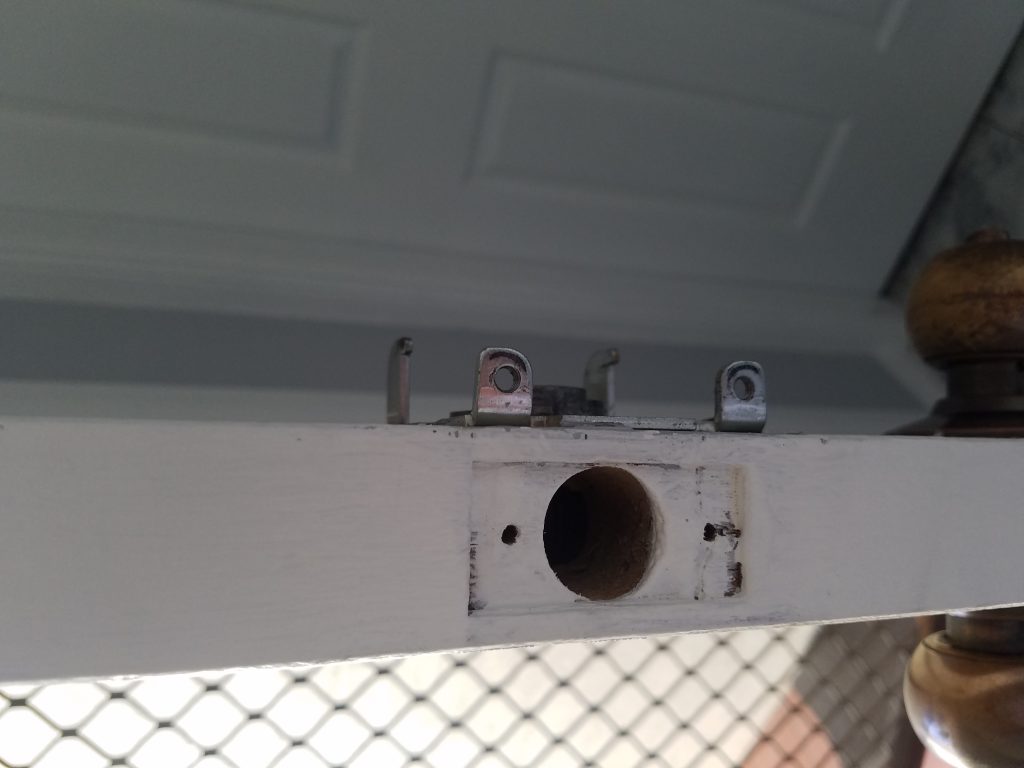
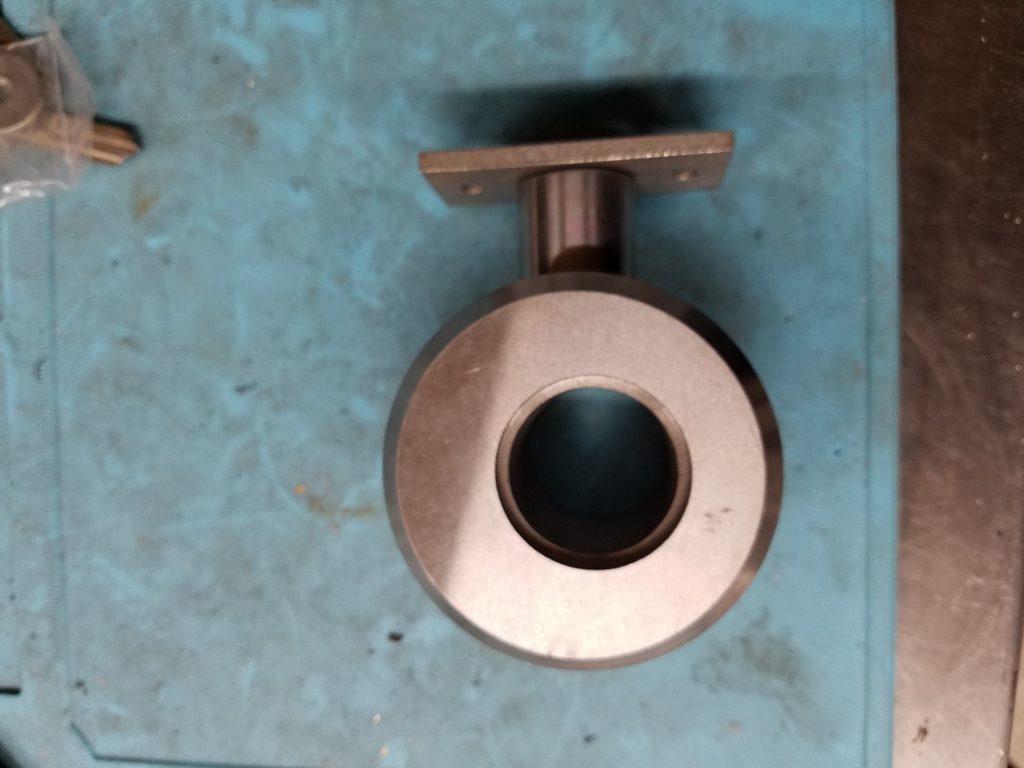
To fix this problem the new Lockwood 001 Sleeve has a face plate to fill this area. The face plate connects to a shaft that not only fills the void into the lock body area, it’s also connected together to provide strength and integrity back to the door
Install Lockwood 001 in-place of Deadbolt – Problem 3
The third problem with such a product to allow a new lock installation is, the new footprint of the Lockwood 001 needs to be attached to the door. The 52mm old footprint is in the place of the mounting screws of the new Lockwood 001.
Our locksmiths have designed the new Lockwood Sleeve to allow you to secure the mounting plate to the sleeve, giving the Lockwood 001 a solid installation screw once again in place of where a void was left.
You can see in this image below that the old footprint has removed the material from the door to install the new Lockwood 001 lock.
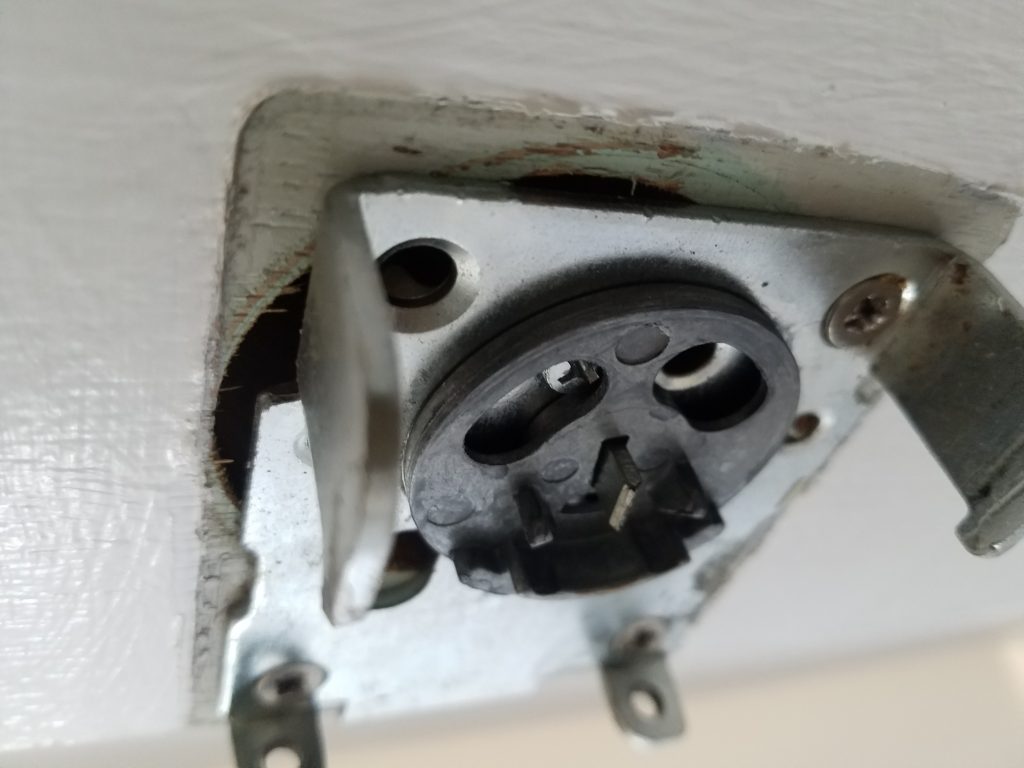
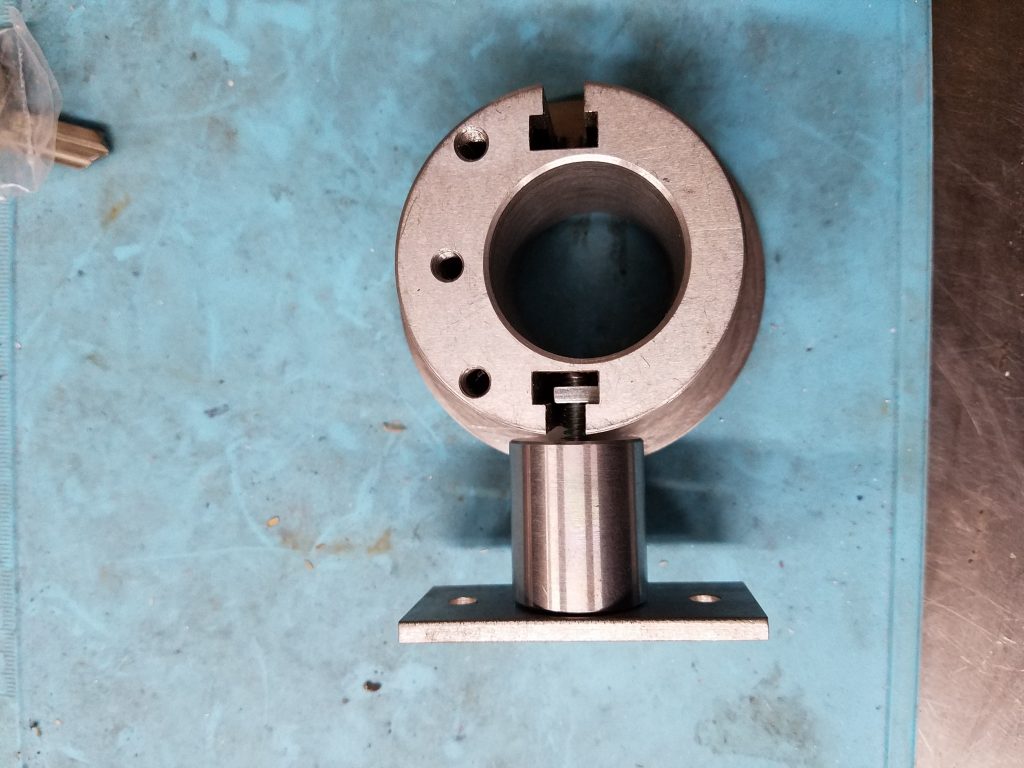
The Lockwood 001 Sleeve provides the new 001 lock to be mounted to the door with all four install screws. The above image shows how the removed material from the door is replace with solid steel that has a tapped screw to accommodate the top rear screw need for a Locksmith 001 installation.
Install Lockwood 001 in-place of Deadbolt – Problem 4
Left and right doors can create a problem, if you need to carry parts for both. This is why our Locksmiths have designed this product with the ability to be used on both left and right doors. The Lockwood 001 Sleeve has a slide to accommodate the shaft that fills the old latch section.
Install Lockwood 001 in-place of Deadbolt – Problem 5
Strength of the door and the strength of the new lock installation needs to be as strong as a fresh installation. To achieve this the Sleeve was designed to fill all voids with a solid steel, that is stronger than most doors.
Strength can also be added by connecting all parts together, this maximises the strength in the product and the door.
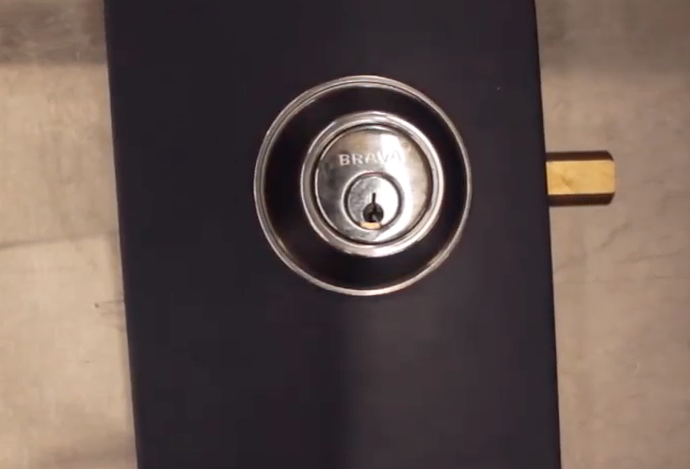
Step 1. Is to remove the current lock from the door
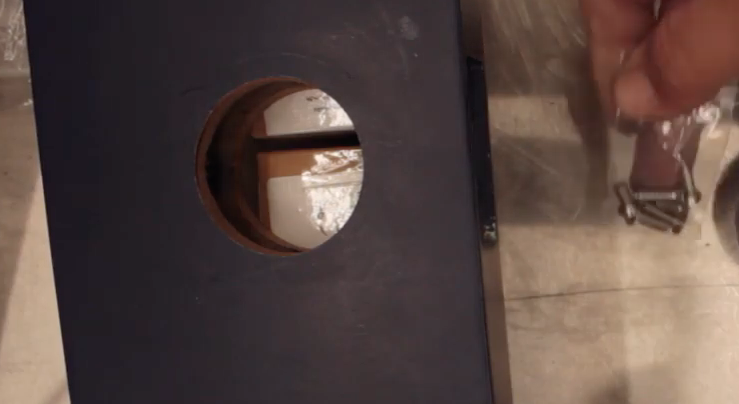
Step 2. Connect the face plate and the tube together
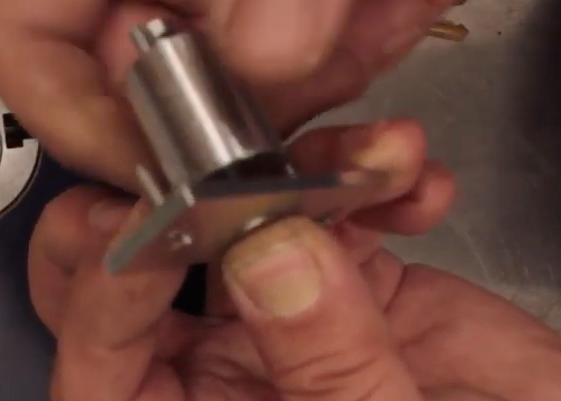
Step 3. Insert the Lockwood 001 sleeve into the door and the latch tube. Interlock them together with the side slide connector
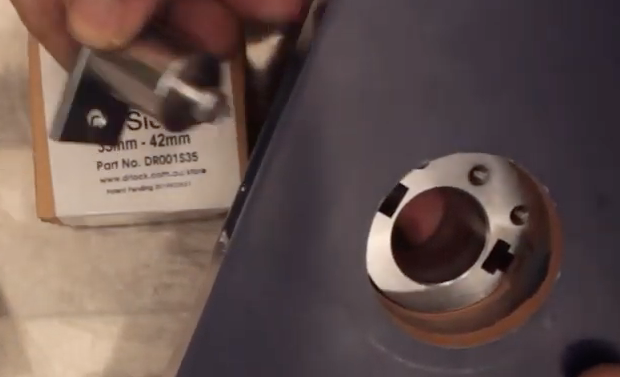
Step 4. Install the side latch fitting screws
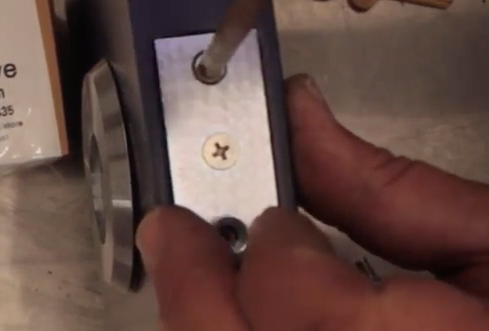
Step 5. Push the sleeve flush to the door, tighten the middle screw on the edge of the door.
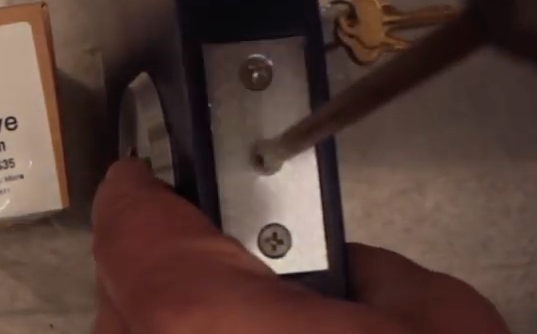
Step 6. Place the Lockwood 001 backing plate over the inside of the sleeve and door. Install the top rear screw, and attach the backing plate to the sleeve with the screw provided.
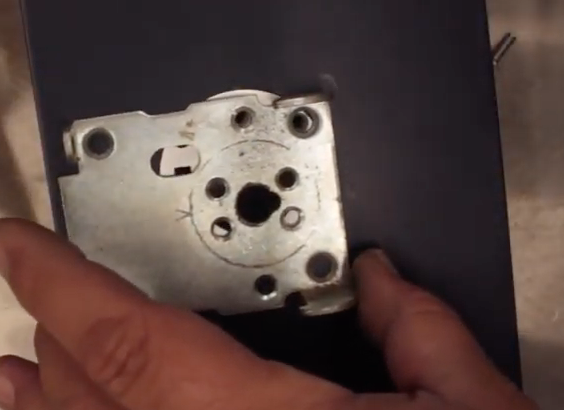
Step 7. Install the lock cylinder from the front.
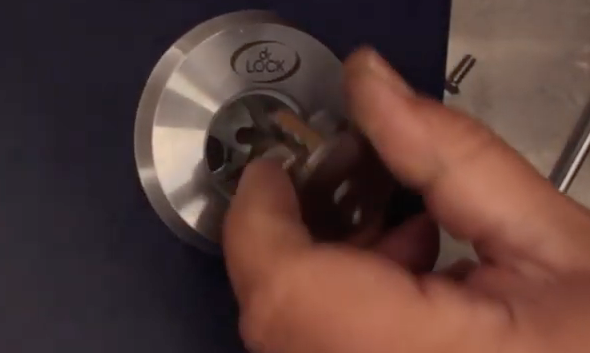
Step 8. Install and tighten cylinder screws
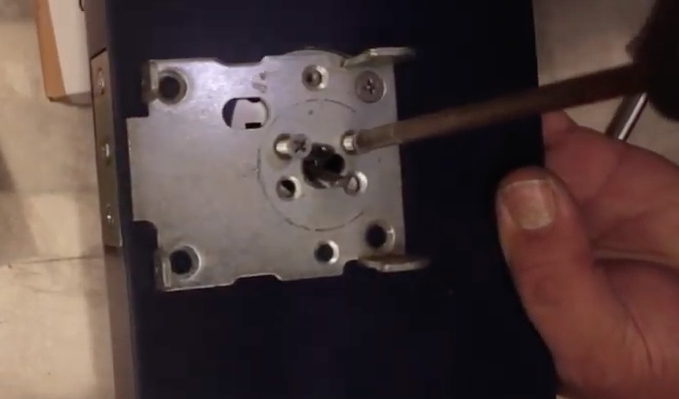
Step 9. Pre-drill the last 3 screw holes and install wood screws supplied with the Lockwood 001 as normal
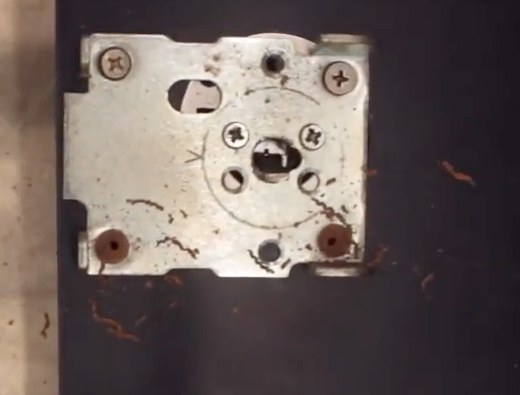
Step 10. Attach Lockwood 001 lock hub to backing plate as you would normally when install this lock
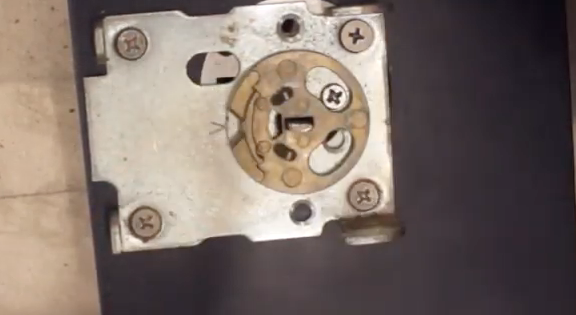
Step 11. Now place the lock on the backing plate on the door, install the two lock body screws as normal.
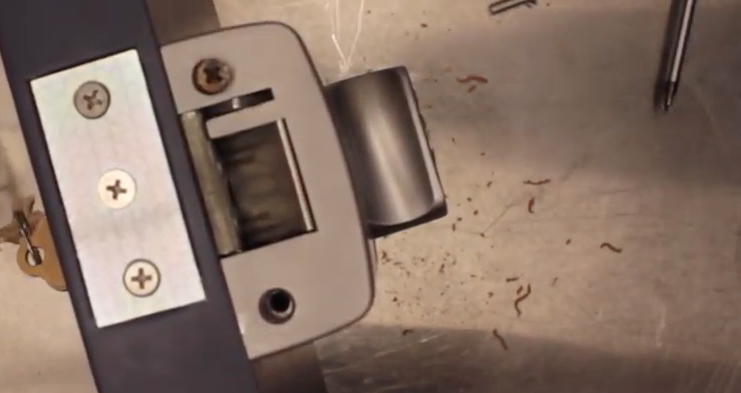
Finished !! About 10 minutes to install and the old damage hole to the door has been filled and repaired.
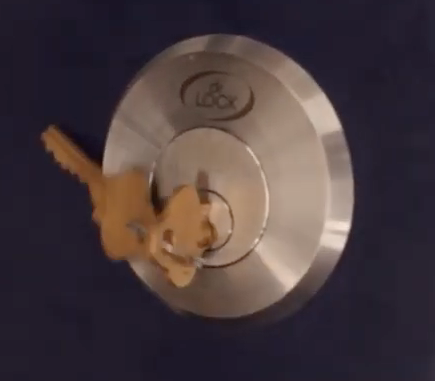
The finished product from the outside of the door.
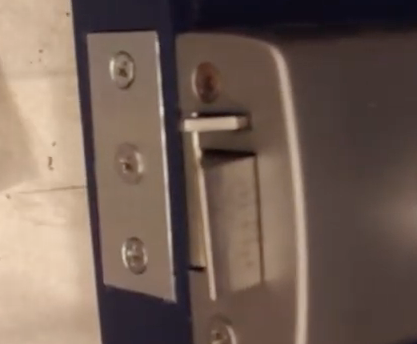
The edge of the door, the lock latch has been filled and repaired.
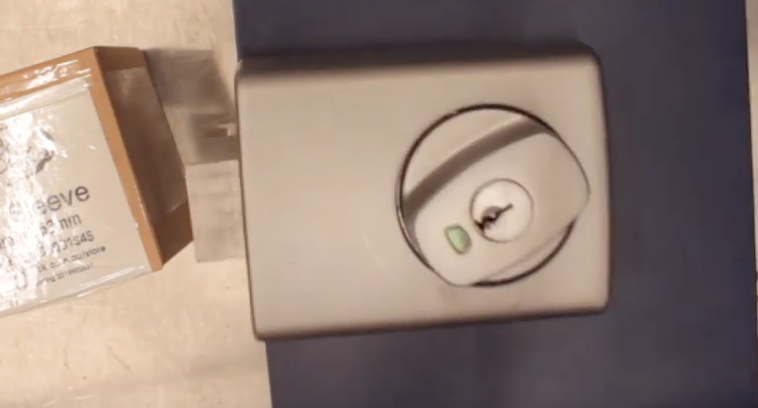
The inside of the door with the lock fitted. No holes are left and the lock is fitted using all the standard mounting points. The Lockwood 001 has covered the old holes of the deadbolt.
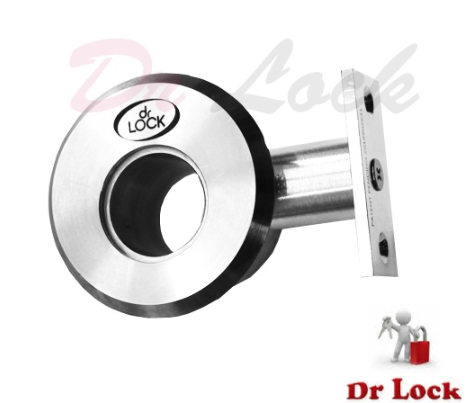
The Lockwood 001 Sleeve is made and sold only by Dr Lock. This product provides a solution for the problem of converting a deadbolt to a Lockwood 001 lock un under 10 minutes. Most importantly providing strength to the door for the lock to be able to provide maximum protection.
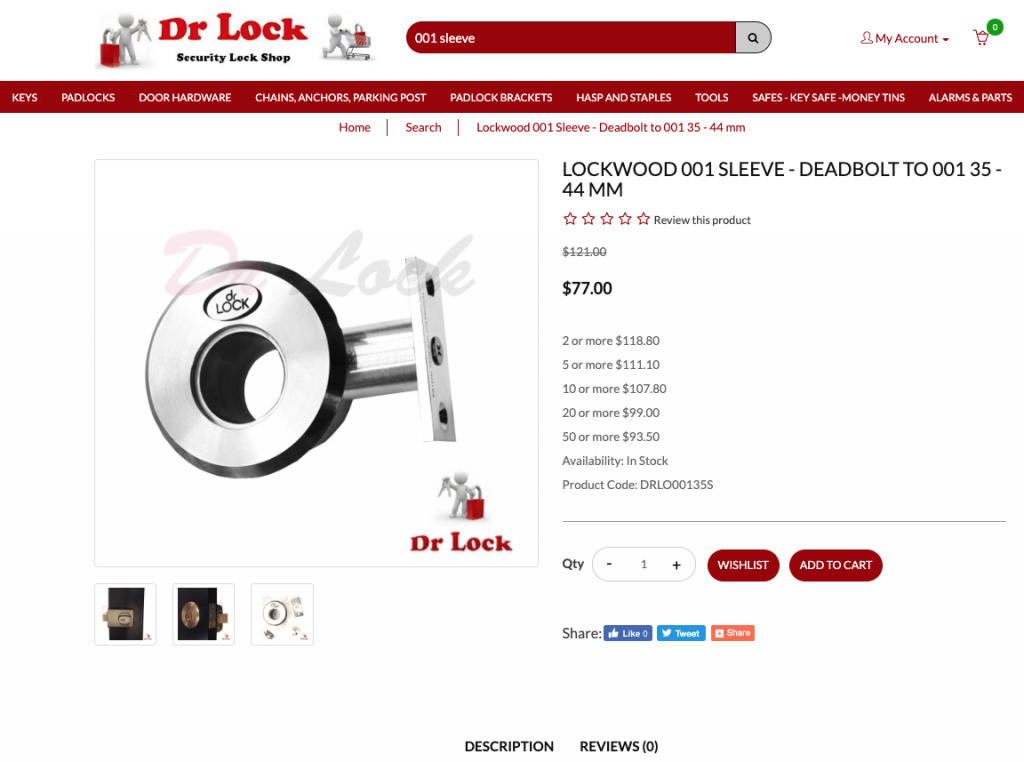
You can see the full installation video below.